Step-by-step guide
- Open Anaconda Prompt (to manage existing environments outside of command line, Anaconda Navigator can also be used) – You will be presented with the view
<base> C:\Users\username>To create a new environment within your user folder on the P drive (hugely recommended) (change "ortoch" to your own username and "testenv3" to your own environment name): - To create a new environment within your user folder on the P drive (hugely recommended) (change "ortoch" to your own username and "testenv3" to your own environment name)

The following will occur if successful:
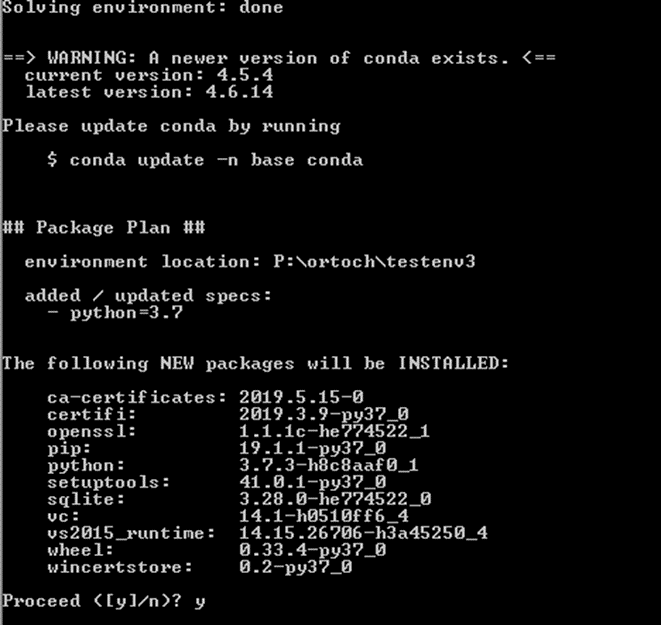
3. Type ‘y’ to proceed with environment creation:
The following will occur if successful:

4. You can check that the package is in the correct path by running conda info --envs
5. Activate the created environment as follows (replace ortoch with own username and testenv3 with own environment name:

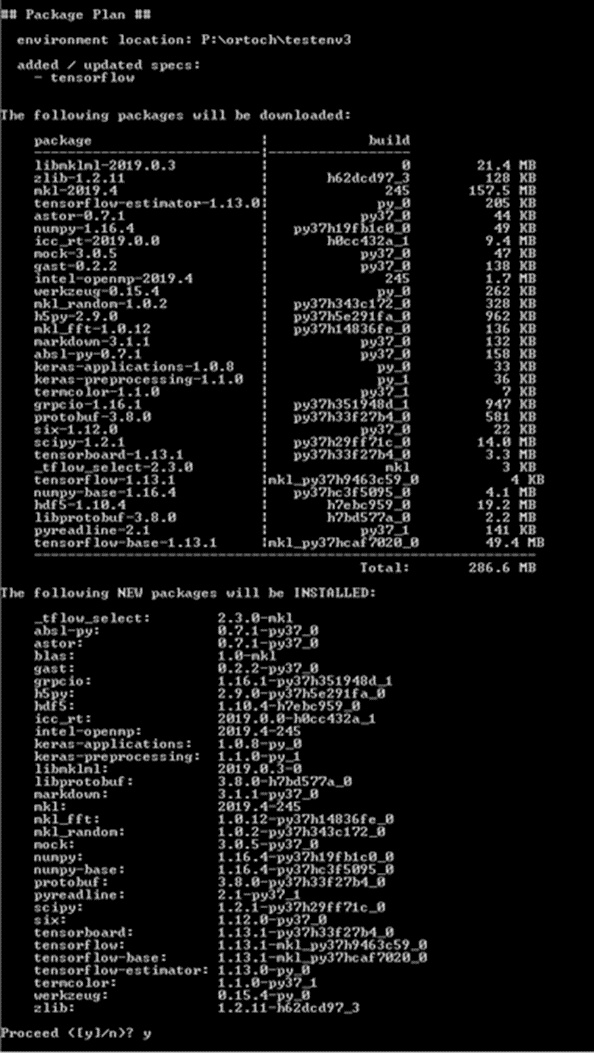
6. Once activated, the path will now have your environment preceding the root, you can install a package by using: ‘conda install packagename’:

7. An example of the code that will appear if package installation is proceeding successfully; ‘y’ to proceed:
If appearing successful, before using an IDE such as Spyder/Jupyter Notebook to start a project, you can check libraries have been loaded correctly as follows in Anaconda Prompt:
python
>>> import tensorflow
If no errors return, the library is successfully installed.
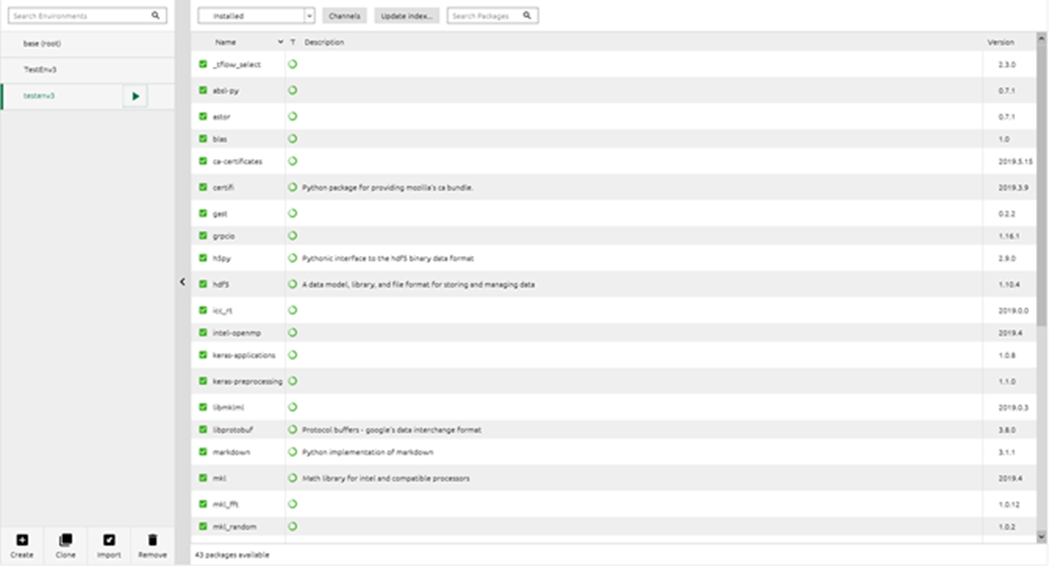
- You can also use Anaconda Navigator to view all packages in an environment – as shown here:
You can use Anaconda Navigator to install a number of other associated software, such as glueviz, Jupyterlab, Jupyter Notebook, orange3, qtconsole, rstudio (already installed on VDI but can be integrated into Python), spyder, and vscode